นอกจากจะ create kubernetes ผ่านทาง GUI แล้วเรายังสามารถสร้าง kuberntes จาก nkp cli ได้ และข้อดีของการใช้ cli จะทำให้เราสามารถเลือก image สำหรับ worker node และ master node ที่ไม่อยู่ใน release ที่ NKP version provide ให้ เช่น nkp 2.17.0 จะมาพร้อมกับ kubernetes version 1.34.1 แต่ถ้าเราจะสร้าง kubernetes version 1.29.6 ก็จะไม่สามารถทำได้เนื่องจาก GUI ไม่มี drop down ให้เลือก ซึ่งกรณีนี้ต้องใช้ CLI ในการสร้าง
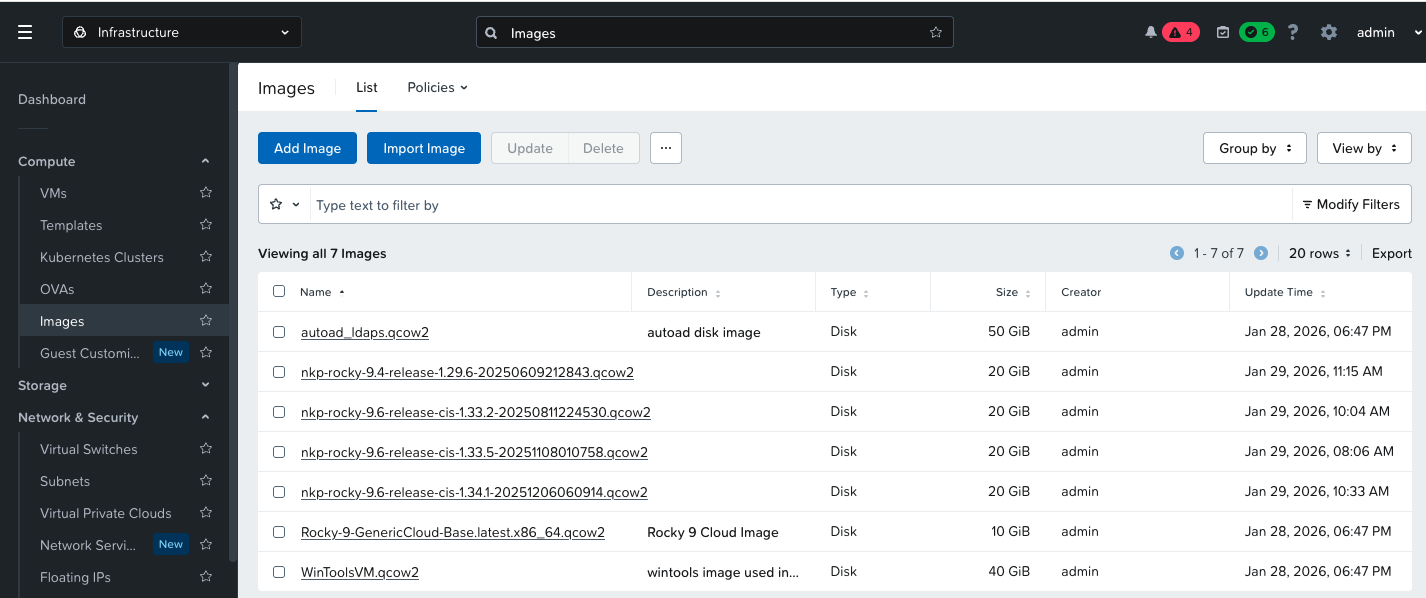
ก่อนที่จะใช้ CLI ต้องทำการ upload VM Image สำหรับ kuberntes ก่อน โดยตัวอย่างนี้ เรา download จาก Nutanix portal และได้ upload เข้าไปใน Prism Central
ใช้ CLI เพื่อสร้างไฟล์ metadata (yaml) สำหรับ create kubernetes cluster
nkp create cluster nutanix --cluster-name dev1 \--namespace kommander-default-workspace \--endpoint https://10.38.37.7:9440 \--control-plane-prism-element-cluster PHX-POC265 \--control-plane-subnets primary-PHX-POC265 \--control-plane-replicas 1 \--control-plane-endpoint-ip 10.38.37.14 \--control-plane-vm-image nkp-rocky-9.4-release-1.29.6-20250609212843.qcow2 \--worker-subnets primary-PHX-POC265 \--worker-replicas=3 \--worker-vm-image nkp-rocky-9.4-release-1.29.6-20250609212843.qcow2 \--worker-prism-element-cluster PHX-POC265 \--csi-storage-container default \--kubernetes-service-load-balancer-ip-range 10.38.37.15-10.38.37.17 \--registry-mirror-url https://10.38.37.51/nkp2120 \--registry-mirror-username admin \--registry-mirror-password Harbor12345 \--registry-mirror-cacert /home/nutanix/harbor/certs/harbor.local.crt \--ssh-public-key-file /home/nutanix/id_ed25519.pub \--ssh-username nutanix \--airgapped \--insecure \--verbose 5 \--timeout 0 \--dry-run \--skip-preflight-checks=NutanixVMImageKubernetesVersion \--output=yaml > dev1-cluster.yaml
ค่า parameter จะแตกต่างกันไปขึ้นอยู่กับ environment โดยตัวอย่างนี้ได้ทำการติดตั้ง harbor เป็น container registry สำหรับใช้ภายใน เนื่องจาก environment ไม่สามารถเชื่อต่อ internet ได้ ขั้นตอนการเตรียม harbor และ package bundle สามารถดูได้จากบทความก่อนหน้า
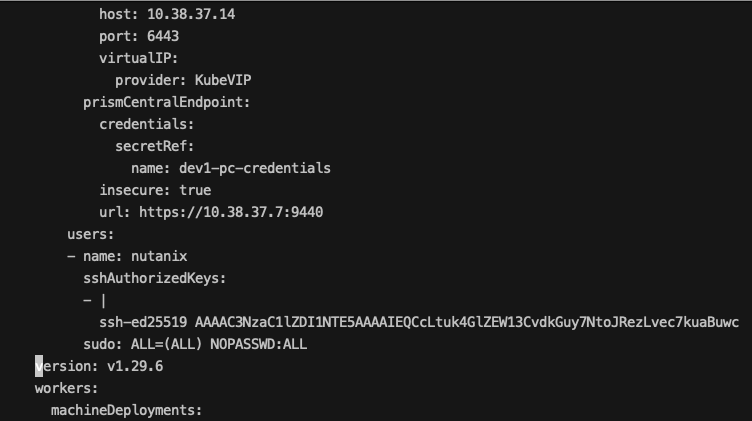
ทำการเปิดไฟล์ metadata ที่สร้างขึ้นและแก้ไข version ของ kubernetes ให้ตรงกับ version ของ vm image
สร้าง kubernetes cluster ด้วย cli
[nutanix@harbor ~]$ kubectl apply -f dev1-cluster.yamlsecret/dev1-pc-credentials createdsecret/dev1-pc-credentials-for-csi createdsecret/dev1-image-registry-mirror-credentials createdWarning: Cluster has skipped preflight check "NutanixVMImageKubernetesVersion"cluster.cluster.x-k8s.io/dev1 created
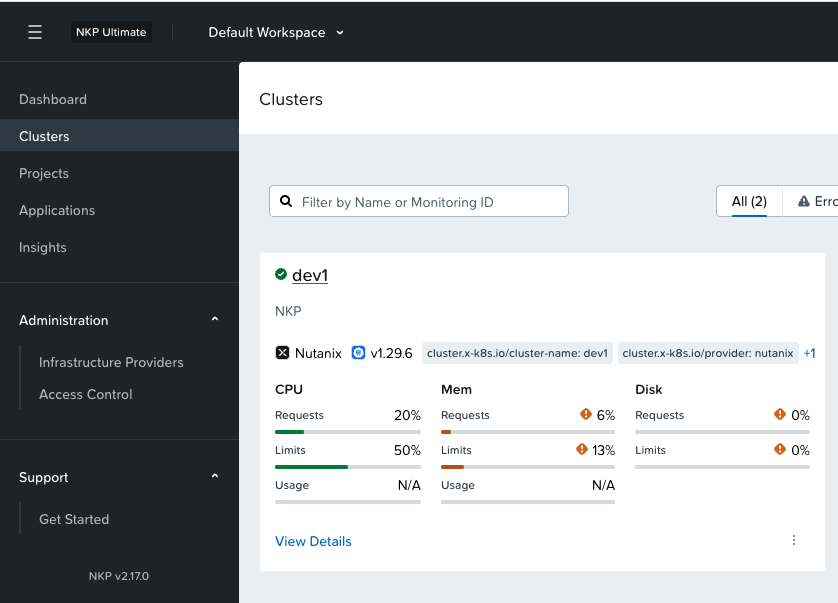
ตรวจสอบสถานะการสร้าง cluster จาก GUI จะพบว่ามีการสร้าง kubernetes ตามที่ระบุใน spec ของ yaml file