
ติดตั้ง KMS สำหรับจัดการ credential ใน Kubernetes ด้วย Hashicorp vault
ติดตั้ง vault cli สำหรับ ubuntu linux
# 1. Add HashiCorp reposudo apt updatesudo apt install -y gpgwget -O- https://apt.releases.hashicorp.com/gpg | sudo gpg --dearmor -o /usr/share/keyrings/hashicorp-archive-keyring.gpgecho "deb [signed-by=/usr/share/keyrings/hashicorp-archive-keyring.gpg] https://apt.releases.hashicorp.com $(lsb_release -cs) main" | sudo tee /etc/apt/sources.list.d/hashicorp.list# 2. Install Vaultsudo apt updatesudo apt install -y vault# 3. Verifyvault --version
สำหรับ Rocky Linux
# 1. Add HashiCorp reposudo yum install -y yum-utilssudo yum-config-manager --add-repo https://rpm.releases.hashicorp.com/RHEL/hashicorp.repo# 2. Install Vaultsudo yum install -y vault# 3. Verifyvault --version
ติดตั้ง helm cli สำหรับ ubuntu linux
curl https://raw.githubusercontent.com/helm/helm/main/scripts/get-helm-3 | bashhelm version
สำหรับการติดตั้งนี้จะไม่ enable tls เพื่อให้ง่ายในการทดสอบ โดยจะสร้าง Load balancer สำหรับเข้าถึง vault และมีการสร้าง volume เพื่อเก็บข้อมูลระบบ การติดตั้งจะติดตั้ง vaultในแบบ high availability โดยมีจำนวน vault instance ที่ 3 instance แต่เนื่องจากกระบวนการ initialize ของ pod จะทำพร้อมกันไม่ได้ จึงสร้างขึ้นมาหนึ่งตัวก่อนแล้วค่อย scale เป็น 3 instance ในภายหลัง
สร้าง script สำหรับติดตั้ง install-vault.sh
# 1. Add the HashiCorp Helm Repositoryhelm repo add hashicorp https://helm.releases.hashicorp.comhelm repo update# 2. Create a dedicated namespacekubectl create namespace vault# 3. Deploy Vault in High Availability (HA) mode with Raft storage# We use a custom values file for production-like settingscat <<EOF > vault-values.yamlserver: affinity: "" service: type: LoadBalancer dataStorage: enabled: true size: 500Mi ha: enabled: true replicas: 1 # Start with 1 raft: enabled: true setNodeId: true config: | ui = true disable_mlock = true listener "tcp" { tls_disable = 1 address = "[::]:8200" cluster_address = "[::]:8201" } storage "raft" { path = "/vault/data" retry_join { leader_api_addr = "http://vault-0.vault-internal:8200" } retry_join { leader_api_addr = "http://vault-1.vault-internal:8200" } retry_join { leader_api_addr = "http://vault-2.vault-internal:8200" } } service_registration "kubernetes" {}ui: enabled: trueinjector: enabled: true replicas: 1EOFhelm install vault hashicorp/vault \ --namespace vault \ -f vault-values.yaml
ตรวจสอบว่า Vault ได้ install และมี status Running ดังรูป โดย status จะยังเป็น 0/1 Ready เพราะว่าต้องทำการ Initial และ Unseal ก่อน pod ถึงจะทำงาน
nutanix@harbor ~]$ kubectl get pod -n vaultNAME READY STATUS RESTARTS AGEvault-0 0/1 Running 0 19mvault-agent-injector-5b7dd85f5c-cht5p 1/1 Running 0 19m
เข้าไปที่ vault-0 เพื่อทำการ initial ด้วยคำสั่ง
kubectl exec -it vault-0 -n vault -- vault operator init
คำสั่ง init จะทำการสร้าง Unseal Keys และ Initial Root Token ซึ่งจะต้องเก็บผลลัพธ์ไว้ เพราะต้องใช้ในการ unseal ในกรณี pod restart ถ้าข้อมูลนี้หายจะไม่สามารถ unseal และดึงข้อมูลที่เก็บใน vault ได้
Unseal Key 1: n80kTk1a0QUsd5XJIVQ+SVF+cmjDj5H0AX8HkDd4xgZgUnseal Key 2: pu2+W0CZWOHcl6xyD77mzip1BeUZOcq9aRW8NwXx5m10Unseal Key 3: 9vGGqh02ZnOvc7T7P45EpPyFeX+KMEYGhv69B/qERaBLUnseal Key 4: 8gbpjijpBLViLDXnfJF7me32ts2pborEyiOH5wHLIHefUnseal Key 5: 0YaO4FKto4I+5ZyV2VGtQrUHJFpLS73bYsQeU153J39IInitial Root Token: hvs.SMpvYTqteXW6Vjup8HWIB972Vault initialized with 5 key shares and a key threshold of 3. Please securelydistribute the key shares printed above. When the Vault is re-sealed,restarted, or stopped, you must supply at least 3 of these keys to unseal itbefore it can start servicing requests.Vault does not store the generated root key. Without at least 3 keys toreconstruct the root key, Vault will remain permanently sealed!It is possible to generate new unseal keys, provided you have a quorum ofexisting unseal keys shares. See "vault operator rekey" for more information.
ขั้นตอนการ Unseal ใช้คำสั่งดังนี้
# Repeat this 3 times with different keys for each podkubectl exec -it vault-0 -n vault -- vault operator unseal <YOUR_UNSEAL_KEY-1>kubectl exec -it vault-0 -n vault -- vault operator unseal <YOUR_UNSEAL_KEY-2>kubectl exec -it vault-0 -n vault -- vault operator unseal <YOUR_UNSEAL_KEY-3>
ทำการ scale vault เป็น 3 instance
helm upgrade vault hashicorp/vault -n vault -f vault-values-dev.yaml --set server.ha.replicas=3
รอจนกว่า pod จะมีสถานะ running
nutanix@harbor ~]$ kubectl get pod -n vaultNAME READY STATUS RESTARTS AGEvault-0 1/1 Running 0 19mvault-1 0/1 Running 0 19mvault-2 0/1 Running 0 19mvault-agent-injector-5b7dd85f5c-cht5p 1/1 Running 0 19m
ทำการ unseal vault-1 และ vault-2
kubectl exec -n vault vault-1 -- vault operator unseal <key-1>kubectl exec -n vault vault-1 -- vault operator unseal <key-2>kubectl exec -n vault vault-1 -- vault operator unseal <key-3>kubectl exec -n vault vault-2 -- vault operator unseal <key-1>kubectl exec -n vault vault-2 -- vault operator unseal <key-2>kubectl exec -n vault vault-2 -- vault operator unseal <key-3>
ตรวจสอบว่า vault cluster ได้ถูกสร้างและมี leader follower ถูกต้องด้วย cli, vault operator raft list-peers ตามตัวอย่าง
[nutanix@nkp-boot ~]$ kubectl exec -it vault-0 -n vault -- sh/ $ vault login hvs.j5wj9UsLG6lQqNS3nsdyBZN6Success! You are now authenticated. The token information displayed belowis already stored in the token helper. You do NOT need to run "vault login"again. Future Vault requests will automatically use this token.Key Value--- -----token hvs.j5wj9UsLG6lQqNS3nsdyBZN6token_accessor ZuIthb5THmCqy6q9leSVCFHKtoken_duration ∞token_renewable falsetoken_policies ["root"]identity_policies []policies ["root"]/ $ vault operator raft list-peersNode Address State Voter---- ------- ----- -----vault-0 vault-0.vault-internal:8201 leader truevault-1 vault-1.vault-internal:8201 follower truevault-2 vault-2.vault-internal:8201 follower true
และเมื่อกลับมาดู status ของ pod อีกครั้งจะพบว่า pod ได้ทำงานครบตามจำนวน
[nutanix@harbor ~]$ kubectl get pod -n vaultNAME READY STATUS RESTARTS AGEvault-0 1/1 Running 0 23mvault-1 1/1 Running 0 23mvault-2 1/1 Running 0 23mvault-agent-injector-5b7dd85f5c-cht5p 1/1 Running 0 23m
คำสั่งที่ใช้สำหรับ ตรวจสอบ status, login และ access ui
kubectl exec -it vault-0 -n vault -- vault statuskubectl exec -it vault-0 -n vault -- vault login <ROOT_TOKEN>kubectl port-forward service/vault 8200:8200 -n vault (Visit http://localhost:8200)
ตรวจสอบ status ของ cluster
# Login firstkubectl exec -it vault-0 -n vault -- vault login <YOUR_ROOT_TOKEN># Check Raft memberskubectl exec -it vault-0 -n vault -- vault operator raft list-peers
ตั้งค่าเพิ่มเติมเพื่อให้สามารถเรียก vault ผ่าน cli ข้างนอก และ GUI
ตรวจสอบว่า vault service ทำงานที่ ip อะไร
[nutanix@nkp-boot ~]$ kubectl get svc -n vaultNAME TYPE CLUSTER-IP EXTERNAL-IP PORT(S) AGEvault LoadBalancer 10.104.183.81 10.55.39.61 8200:30127/TCP,8201:31217/TCP 23mvault-active LoadBalancer 10.97.61.209 10.55.39.59 8200:30121/TCP,8201:31694/TCP 23mvault-agent-injector-svc ClusterIP 10.108.165.252 <none> 443/TCP 23mvault-internal ClusterIP None <none> 8200/TCP,8201/TCP 23mvault-standby LoadBalancer 10.102.165.84 10.55.39.60 8200:31514/TCP,8201:32039/TCP 23mvault-ui ClusterIP 10.103.236.126 <none> 8200/TCP 23m
การใช้งานต้องใช้ loadbalancer ip ของ vault-active เพราะจะ route ไปยัง leader node ทำให้สามารถ read/white ได้
- Vault (10.55.39.61) จะ load balance ไปยังทุกๆ pod อาจจะส่ง request ไปที่ standby node และถูก redirect
- Vault-standby (10.55.39.60) เป็น standby node ไม่ได้ถูกใช้งาน
- Vault-active (10.55.39.59) เป็น leader, ใช้ทั้งเขียนและอ่าน
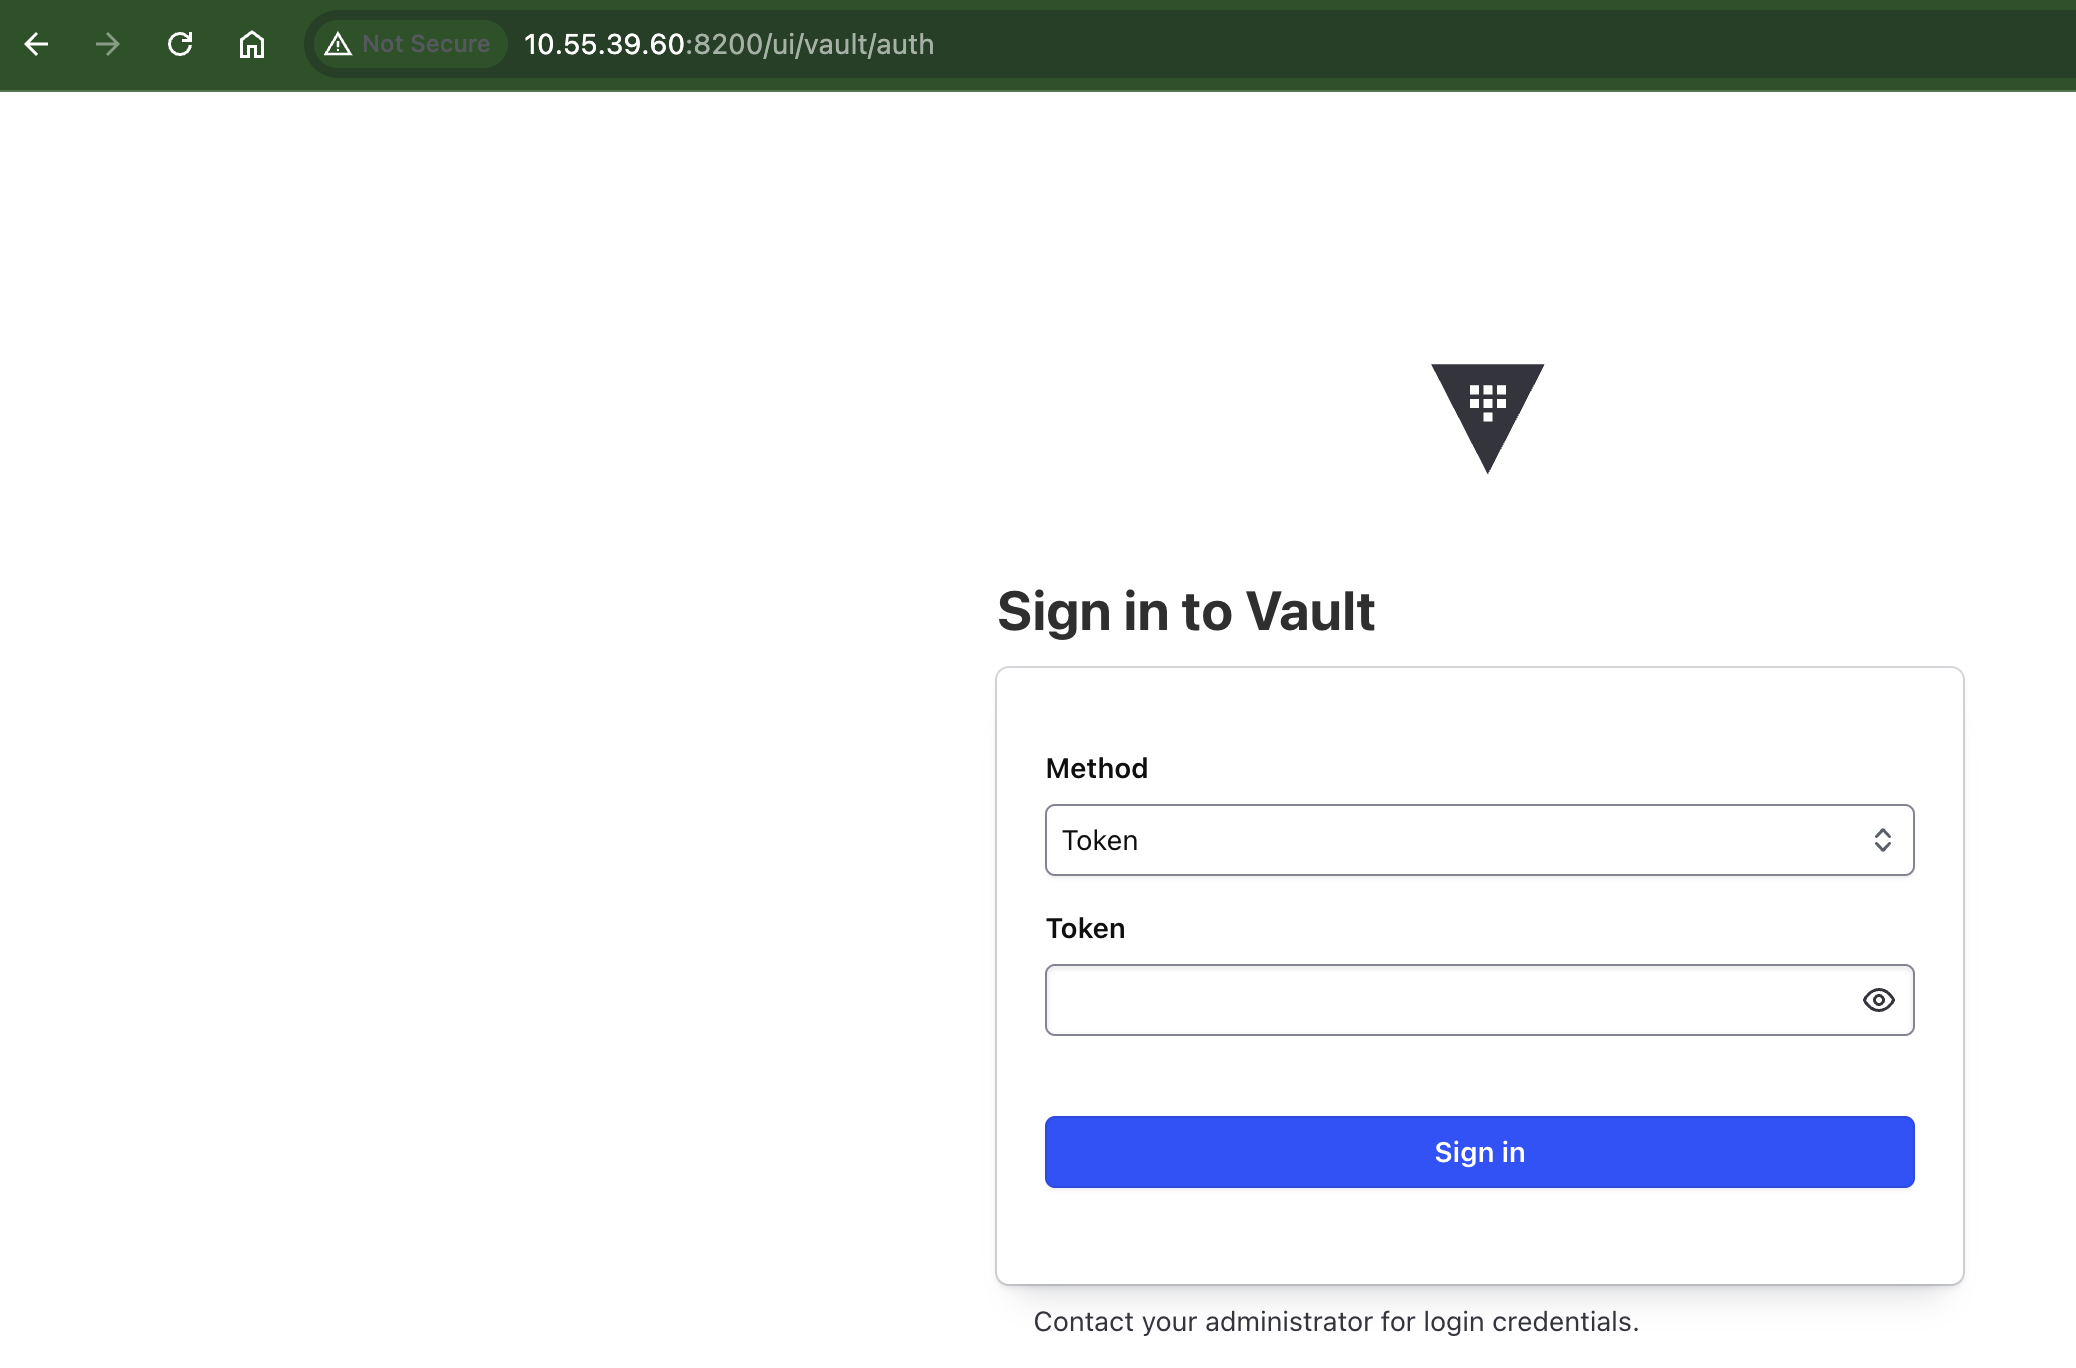
ใช้งานผ่าน UI ด้วย load balancer ip (vault-active) http://10.55.39.59:8200/ui
เข้าใช้งานผ่าน cli ตามตัวอย่าง
[nutanix@nkp-boot ~]$ export VAULT_ADDR="http://10.55.39.59:8200"[nutanix@nkp-boot ~]$ vault login hvs.j5wj9UsLG6lQqNS3nsdyBZN6Success! You are now authenticated. The token information displayed belowis already stored in the token helper. You do NOT need to run "vault login"again. Future Vault requests will automatically use this token.Key Value--- -----token hvs.j5wj9UsLG6lQqNS3nsdyBZN6token_accessor ZuIthb5THmCqy6q9leSVCFHKtoken_duration ∞token_renewable falsetoken_policies ["root"]identity_policies []policies ["root"][nutanix@nkp-boot ~]$ vault statusKey Value--- -----Seal Type shamirInitialized trueSealed falseTotal Shares 5Threshold 3Version 1.21.2Build Date 2026-01-06T08:33:05ZStorage Type raftCluster Name vault-cluster-a0bae969Cluster ID af1cf2cf-192d-3e43-d7ae-80871b7b84e8Removed From Cluster falseHA Enabled trueHA Cluster https://vault-0.vault-internal:8201HA Mode activeActive Since 2026-02-27T00:57:32.952130776ZRaft Committed Index 45Raft Applied Index 45
สิ่งที่ควรต้องพิจารณา
- Storage ที่ใช้ใน Script จะต้องมี StorageClass เพื่อ provision persistent volume
- การ Auto-Unseal สามารถใช้ Cloud KMS (AWS KMS, GCP KMS หรือ Azure Key Vault) ให้ช่วยขั้นตอนการ unseal ได้ ในกรณีที่ pod มีการ restart โดยไม่ต้องทำแบบ manual
- TLS ใน script install ทำการ disable ไว้ (tls_disable =1) เพื่อความง่ายในการติดตั้ง สำหรับ production ต้อง integrate กับ cert-manager เพื่อจัดการ life cycle ของ certificate
ตัวอย่างการสร้าง secret
ssh เข้าไปที่ vault instance
kubectl exec -it vault-0 -n vault -- sh
Login ด้วย root token
# Ensure you are logged in firstvault login hvs.SMpvYTqteXW6Vjup8HWIB972# Enable the KV-v2 engine at the path 'secret'vault secrets enable -path=secret kv-v2
สร้าง secret
# vault kv put <PATH> <KEY>=<VALUE>vault kv put secret/my-app/db-creds password="YourSuperSecurePassword123!"
ตรวจสอบ secret ว่าสามารถเรียกดูได้ถูกต้อง
vault kv get secret/my-app/db-creds======= Secret Path =======secret/data/my-app/db-creds======= Metadata =======Key Value--- -----created_time 2026-02-05T11:13:56.470489651Zcustom_metadata <nil>deletion_time n/adestroyed falseversion 1====== Data ======Key Value--- -----password password123
